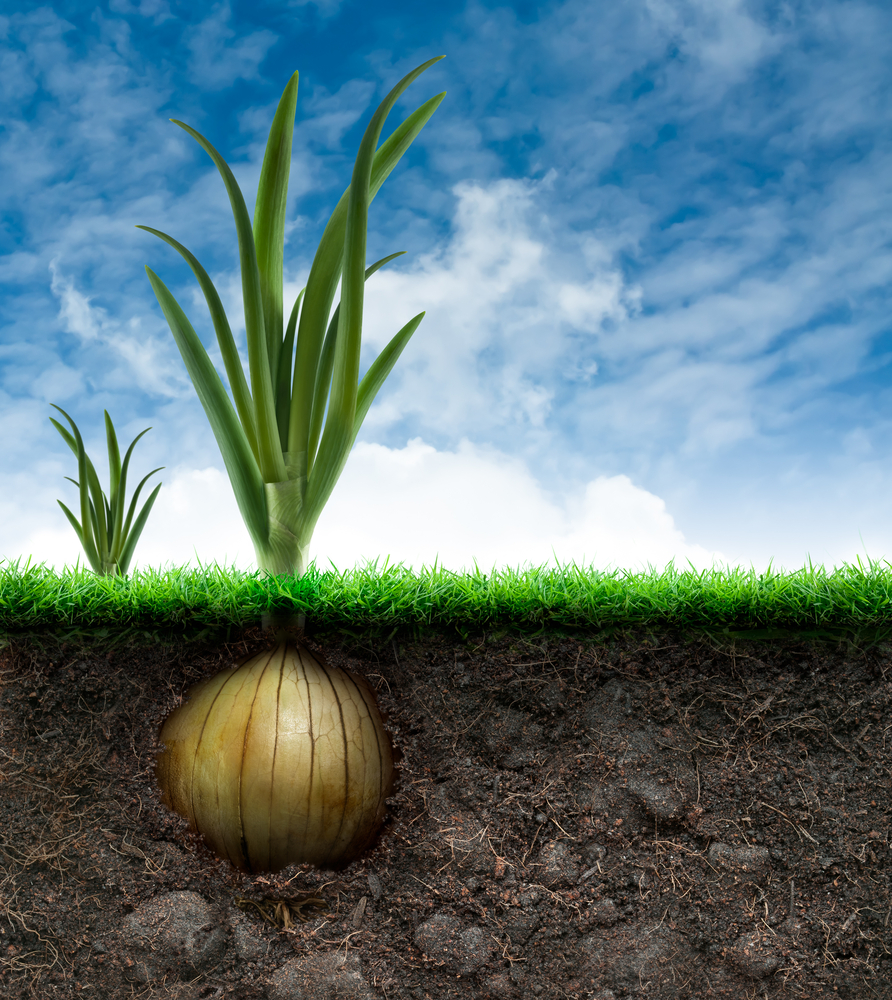
Although factors such as weather condition and garden location have an impact on the chances of having a healthy vegetable garden; they are by no means the only factors. There are many other factors that home gardeners almost always overlook. One of these factors, which is extremely important, is the condition of the soil in the vegetable garden. People tend to forget about it mainly because it’s easy to assume that all soil is the same. However, this isn’t the case as you are about to find out.
Why Is Testing Your Soil So Important?
Why is testing the soil so important for having a healthy vegetable garden? You ask. Well, think about it this way. You wouldn’t begin constructing a house without the foundations or begin painting the walls in your home before you plastered them. It’s much the same with a vegetable garden as you need to prepare everything first before you plant, and the soil is an extremely important factor. Without good, healthy soil the chances of anything ever growing in a vegetable garden are pretty slim. This is because a healthy vegetable garden requires soil that is rich in nutrients, slightly acidic and well-drained. Therefore if you don’t test your soil you will never know whether your soil is right for a vegetable garden.
How To Test Your Soil
Testing your soil to determine whether or not is actually pretty simple and straightforward. There are two main ways that you can go about it. You can either get a do-it-yourself home kit or send a soil sample off to your local Cooperative Extension Office. Sending it off will provide you with a more detailed analysis as well as some official recommendations, but most home gardeners make do with a simple soil test. If you choose to use a do-it-yourself test then just follow the instructions on your packet. If you’re sending it off however, here is how to collect a decent soil sample.
- Get a bucket and a trowel and ensure that neither of them are rusty or zinc-coated metal as either of these things could skew the test results.
- Next dig out five holes in the planting area that are each between 6-8 inches deep. Make sure that these holes are spread out in order to get a good sample.
- Then dig out a ½ slice of soil from the side of the hole and put it into a bucket. Repeat this step for all the holes that you have dug.
- Now mix the soil in the bucket together thoroughly.
- Place the soil from the bucket in the soil sample bag or container and get it mailed to the lab.
What To Do If There Are Any Problems
If you look at the test results of your soil and there not too great there’s no need to panic as there are plenty of things you can do to correct it. If it’s only a little too acidic or alkaline then it’s probably just best if you find some vegetables that will grow in those specific conditions. There are plenty of guides available online that detail what conditions certain vegetables grow in.
If however it’s a little more serious and your soil is extremely acidic or alkaline there is still hope. Acidic soil is the more common problem and the best course of action is to treat it with some limestone. Alkaline soil is a little more difficult to fix but this guide explains all the things you need to do to fix your soil.
Problem Solved
You now know the importance of testing your soil for a healthy vegetable garden. So hopefully next time you’re out and about in your garden whether you are using your best zero turn mower or just relaxing you will be able to see some vegetables growing!