The total power output of the Sun is staggering –a hundred billion billion billion billion joules are released from it each second. Of course only a fraction reaches the Earth’s surface. But for those living in the Northern Hemisphere this is more than enough to bathe every square meter with hundreds of joules of energy each second.
The trouble, however, is that most of this energy goes to waste. But with solar panels you can harness this energy and deliver some of your home’s heating/electricity requirements cleanly and efficiently, and save yourself money in the process.
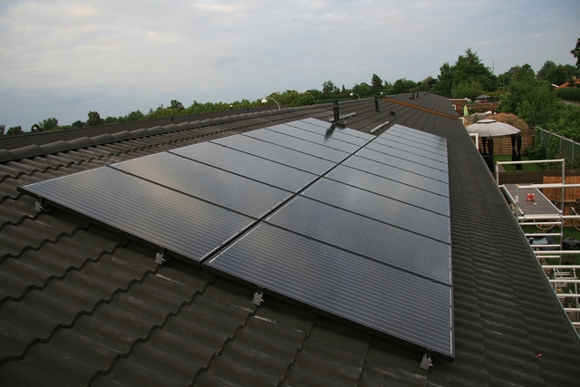
There are two major types of commercial home solar power – Photovoltaic cells (PV) which generate electricity for your home, and solar thermal systems which heat the home water supply. Both types of panel can be fitted to the roof, using the Sun’s energy to heat up internal water tubes or drive internal reactions to produce electricity. While these systems save you money in the long run, commercial panels are significant investments.
Step 1: Solar Power Panel
It is not difficult to build your own simple solar power panels at a fraction of the price of commercial panels, and if you build a good panel, you will reduce the amount of electricity you consume from the grid for plenty of different applications. It is remarkably cheap to construct a solar power panel, and the main expenses are the solar cells themselves and the timbre. For example, you can achieve a 20 volt array for under $80.
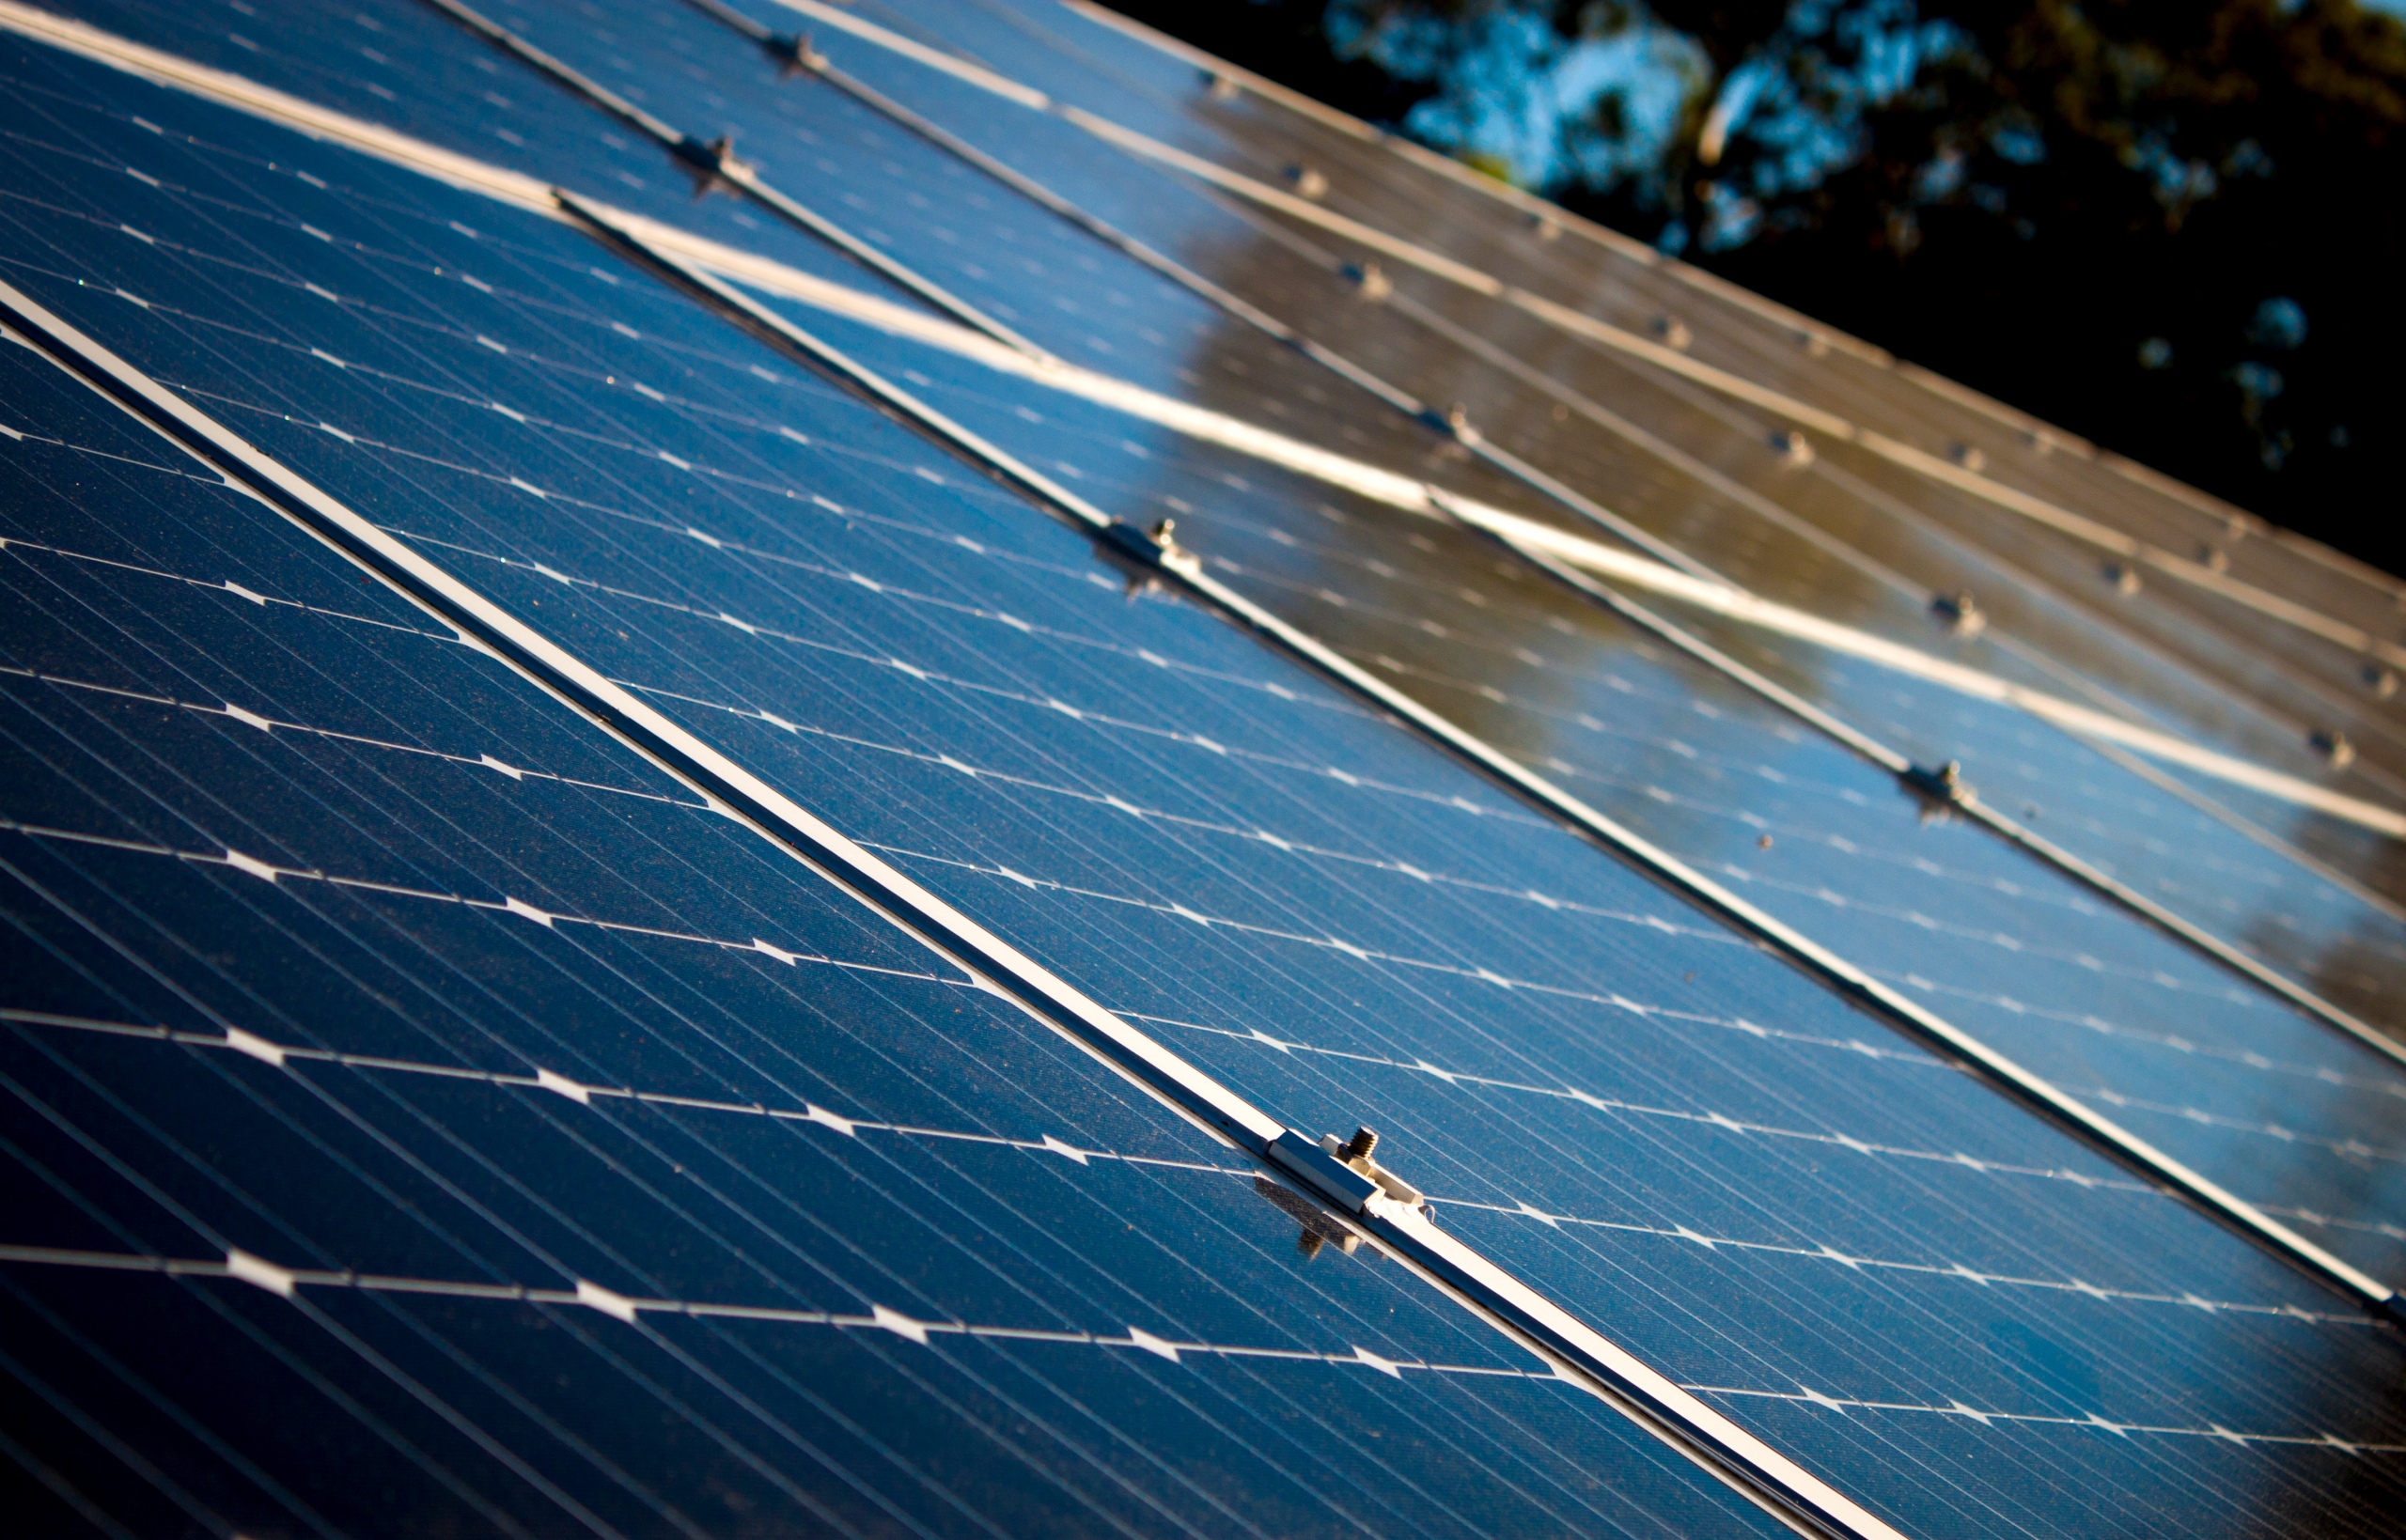
The first step is to purchase these solar panel cells, which you buy individually as small crystalline cells and then connect together to gain the desired wattage. 3 inch by 6 inch solar cells provide between 2 and 5 amps and half a volt in direct sunlight, and the more tabs you buy, the bigger power output of the solar panel you get. 36 of these cells must be purchased to create a typical solar power panel, and a typical array of this size will provide roughly 20 Volts at 60 Watts. Bigger cells provide more current but provide the same voltage, but will result in a larger, heavier panel.
Step 2: Build the Frame
The solar heating panel that you will build needs to be encased in a protective structure. The easiest and structure is a shallow plywood frame, which is fairly light and shallow enough so no shadows are produced when the sun is not overhead. The dimensions will need to be large enough to contain the connected grid of solar cells, taking into account the spaces between the cells. The wood should be treated with stain and/or paint.
A glass or Perspex covering is needed to protect the cells from the elements. The covering should be the same size as the frame, with holes drilled into the edges so they can be fixed with screws to the frame.
Step 3: Constructing the Solar Cell Array
Constructing the solar panel begins by connecting each of the individual cells with tab wire. On the front of each cell there are metallic bus wires, and the tab wire is soldered to each cell on top of the bus wires, with the tab lying perpendicular to them. Soldering is an easy process that anyone can do, but photovoltaic cells are fragile and brittle so you must be careful not to apply to much force to the cells, otherwise they may break.
The next step is to solder the cells together in series to create a series circuit which adds up the voltages of each cell.
Step 4: Connecting the Tabs
If you turn the cells upside down, you will see solder tabs which are used to move current from one cell to the next. The wire tabs of one cell need to be soldered to the solder tabs of the next cell. You should end up with a string of connected cells, and the first string then needs to be connected in series to the first cell of the next string and so on. Copper wiring is good for this.
Your array of cells needs to be attached to a piece of separate under-board, which in-turn is placed into the wooden box frame. The cells can be glued to the board with silicone caulk or a similar adhesive. Place some caulk on the underside of each cell, and then press each cell onto the panel. This can be a tricky process with a whole connected array of cells, so get someone else to help you.
Step 5: Installing the Frame
You should test the workings of your panel once all the cells are connected to the under-board by connecting a multi-metre to the start and end of the connected panel circuit (the positive and negative ends). Once you know it’s working, you can then fix the board into the main frame. It is best to screw the under-board onto the main timbre frame. If you are going to use your solar cells continually, you will need a blocking diode to prevent discharging during the night.
Featured images:
- License: Creative Commons image source
When Nathan of My Cheap Life Insurance isn’t working on his website he’s usually knee deep in a DIY project, such as solar panel installation. However, he’s learned from experience that installing green energy in the home requires significant time and dedication –time that takes him away from helping his clients find affordable life insurance policies..


