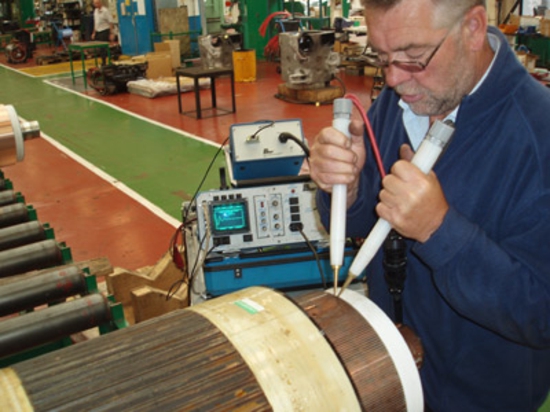
DC motors are motors that draw power from deep cycle (DC) batteries, and are used where precise speed control is necessary. At home, you can find them in your computer and in your air conditioner. This is a simple test you can do to test a DC motor and make sure it’s working correctly.
What you’ll need for this test is: a voltmeter, a set of red and black lead wires with clips, a Phillips screwdriver, and a socket and ratchet.
Don’t worry: these tools aren’t as scary as they sound. Voltmeters are tools that measure the electricity travelling from one point, through a wire, to another point. You can generally buy them for pretty cheap (around $20), but there are lots of flukes on the market.
- Buying a Fluke (yes, it’s a brand, and it’s not a fluke) or a Green-Lee voltmeter is recommended.
- The wires you’ll need are also known as test leads with alligator clips. These are short pieces of wire that have a clip on each end, and they’re a couple dollars on Amazon. You can also find them at your local Radio Shack. Alright,
So here’s how you test your motor…
- To start, find the wire that runs from the motor to the DC battery. Use your Phillips to unscrew the set screws of the connection. It might take some fiddling around to find exactly what you need to unscrew, but don’t worry if you accidently do something wrong; so long as you keep track and you undo what you did, you’ll be fine.
- Make sure when you have done this that there are exposed wire ends, because you’ll need these in order to connect the clips of the test leads later.
- Next, liberate your motor! Make sure that your motor isn’t connected to anything else, and that it can turn without being impeded. You’ll need it to be able to run when you test it. If you need, use the Phillips or the sockets and ratchet to detach it from whatever it needs to be detached from, but, again, make sure that you keep track of what you do so that you can put it back together once you’re finished with the test.
- Now this is where it gets fun. Take your voltmeter and switch it to Ohms. (In case you’re wondering, Ohms is not an abbreviation—it’s a unit named for the German physicist Georg Simon Ohm. Ohms are used when measuring electrical resistance. When you slide something, like a box, across a carpeted floor, friction is created.
- It is what pulls the box back. Electrical resistance is created when electricity runs through a wire, and it is very similar to friction.) Grab your red lead wire and attach one clip to the motor on the piece of exposed wire, and the other clip to the red voltmeter terminal. Take the motor’s red wire and run it to the battery.
- Now use your black lead, and do the same thing: attach one clip to the motor, the other to the voltmeter, and run the motor’s black wire to the battery.
- What you’ve done is connect the motor and battery the same way they were connected before, but now the electricity is also running through the voltmeter. Check your voltmeter for the ohm reading. For the first reading, you should get somewhere between 10 and 100 ohms.
- Wait for five seconds and take another reading. Then look at what your DC motor specifies for volt ohms.
If the reading you took just now is different from the number your motor gives you by 10 or more ohms, something’s wrong with the motor.
Featured images:
- License: Creative Commons image source
Sylvia Raynor writes on behalf of Elreg. Anyone interested to buy dc motors Canada. Visit us.


