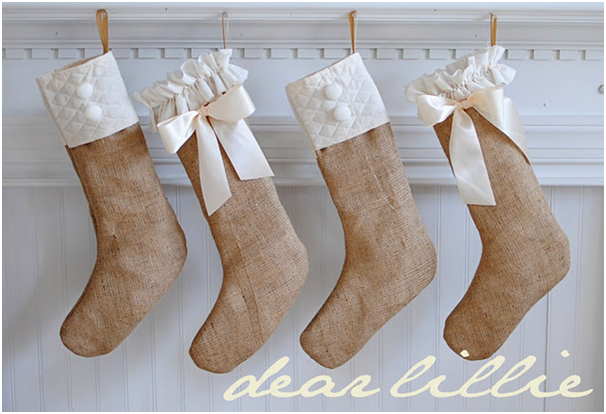
If you feel like getting crafty this festive season, then why not design and make your own Christmas stockings? Get the whole family involved and you can have one each to hang at the foot of the bed or over the fireplace. Choose a unique, personal design for each person and they will become heirlooms that stay in the family for generations. Here is a quick guide:
- Design a pattern of your own or find one of many templates available online. Remember you’ll need enough fabric for two stocking shapes for each stocking you make and in two different colours or patterns. For this example, you’ll need 11”x14” for front and back and another piece the same size for the lining. For an exciting range of Christmas Designer Fabrics, visit online retailer http://www.higgsandhiggs.com
- Take the wrong sides of both outer fabric and liner fabric, put them together, pin the pattern in place and cut to shape.
- Pair up one outside piece of fabric with one-liner piece with the toes pointing in the same direction. Sew a ¼” seam along the top of each fabric piece, joining them at the top of the boot shape.
- Do exactly the same for the second stocking piece and the liner.
- Match up the two sewn pieces, pin them together, leaving a gap at the top.
- Sew around the outside of the stocking to seal the front and back pieces together to form a stocking but don’t sew the top or you won’t be able to get any treats inside!
- Before you turn the fabric right side out, take some fabric scissors and cut a few notches into the toe area but make sure you don’t cut further than the seam you just sewed.
- Now you can turn the stocking the right way out. Pat the fabric down so it’s nice and smooth, you can even iron for best results.
- Fold down a cuff for the stocking and press. This is a great opportunity to add some further decorative trim to your stocking.
- If you want to make a bigger stocking, then simply adjust the measurements of the fabric to scale up.
If you would rather try a no-sew stocking pattern:
- Find a template online or design your own and cut two pieces of fabric slightly larger than the template.
- Place the two pieces on top of each other with the template pinned on the very top.
- Using fabric scissors, carefully cut through the fabric around the template.
- Separate all the pinned pieces, making sure that both pieces of fabric are exactly the same size.
- Separate the two fabric pieces and add glue around the edge of one piece. Try gluing the bottom half of the stocking and sticking the second fabric piece down before starting on the top. This helps to ensure proper adhesion and avoid fabric shifting.
- Once you glued both bottom and top, press firmly together and turn inside out so glue is now on the inside.
- Add your decorations using a hot glue gun.


