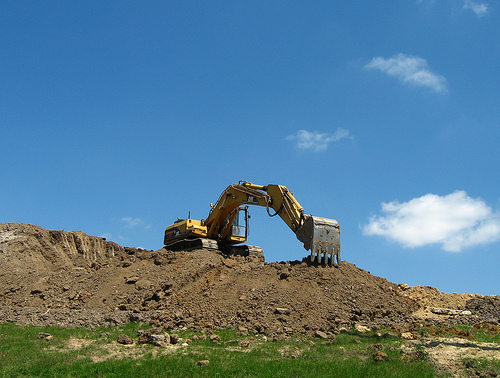
<p style="text-align: justify">The majority of trenches and ditches can be dug using a shovel. However, if you want to excavate a deep trench often required to lay down a new sanitary sewer line or a building project then a few special considerations that have to be made. Below we look at some of the basic steps required to dig a large trench safely.</p>
<h2 style="text-align: justify"><strong>Step no. 1: Planning</strong></h2>
<p style="text-align: justify">The very first thing you should do is to plan your excavation this includes the route and the depth of the dig. This will help to determine what tools, materials and equipment you need for the job. The planning phase can a bit tricky so take your time and design a layout that will serve your purpose, and something that will not immediately change once the digging starts. This will enable the materials that you purchased to be enough in order to complete the trench.</p>
<h2 style="text-align: justify"><strong>When planning for the Trench keep the following in mind:</strong></h2>
<ul>
<li>Chart out a route that will not damage appurtenances and plants on the property. Also, keep in mind that trees and plants will die if their roots suffer injury during the excavation. There is also the chance that driveways, structures and sidewalks will also collapse if undermined.</li>
<li>You also need to determine what type of soil you are digging into. Sandy soil, loose or wet soil will make excavating in a straight line difficult not to mention dangerous. So you may need to plan a few additional measures to complete the project successfully.</li>
<li>You should also consider using shoring during your excavation. This process uses a number of support structures that will support the ditch on the sides in order to prevent a cave in and subsequent injuries. Sheets of plywood can be used as supports for small size excavations, or steel boxes can be used along with sheet piling for larger excavations.</li>
<li>De-watering may also be needed in order to remove excess water which will stabilize everything during work. This can be accomplished using a well point system or a regular sock pipe and mudhog pump which will remove the water as it gets into the excavation.</li>
<li>You will also need to determine the depth of the utility or the function of the trench. There are some plumbing systems that run purely on the power of gravity and so they require a slight slope so that the waste will flow without any help to the discharge location. In this case the trench will be deeper on one side and slightly higher on the other.</li>
</ul>
<h2 style="text-align: justify"><strong>Step no. 2: Starting the excavation</strong></h2>
<p style="text-align: justify">To start the digging you will need to line up the workers or even the equipment along the marked line of the ditch. During the dig always continue to observe soil conditions so that the trench embankments do not cave in. The first cut should be deep enough to serve the purpose of your trench. Also, if it needs to be benched it should be dug to the depth of the first bench. If a backhoe or an excavator is being used then dig the first segment with the machine to reach the depth. You will have to make subsequent entrenchments for every bench before you can dig any deeper so that the banks remain stable.</p>
<h2 style="text-align: justify"><strong>Step no. 3: Throw out the spoil</strong></h2>
<p style="text-align: justify">This needs to be thrown out as far away from the excavation site as possible in order to prevent it from interfering with the pipes or utilities that you install. This will also help to prevent the material which has been removed to cause overburdening of the banks. You should move along the length of your trench until every section has been excavated to the needed depth. You then check the depth using a laser level checker or a builder’s level.</p>
<p style="text-align: justify">You should obviously continue digging till all parts of the trench are at the required height.</p>
<h2 style="text-align: justify"><strong>Performance tips:</strong></h2>
<ul>
<li>During the excavation make sure to keep hydrated as the extreme cold or heat can cause your body to consume more water.</li>
<li>All the materials you need should be on hand before starting the project.</li>
<li>You should have a blueprint of underground cables, lines, water lines, etc., so that you avoid damaging any one of these during the excavation.</li>
</ul>
<p>Mark has been a general contractor and builder for over two decades. He has lots of experience with excavations of all types and sizes.</p>

How To Go About Excavating A Trench?
